The Committee Page
This page allows you to present the ARPCE committee members to visitors to the site so they can learn more about individuals and how to contact them.
Adding a new Committee Member
From the dashboard go to Teams > Add New
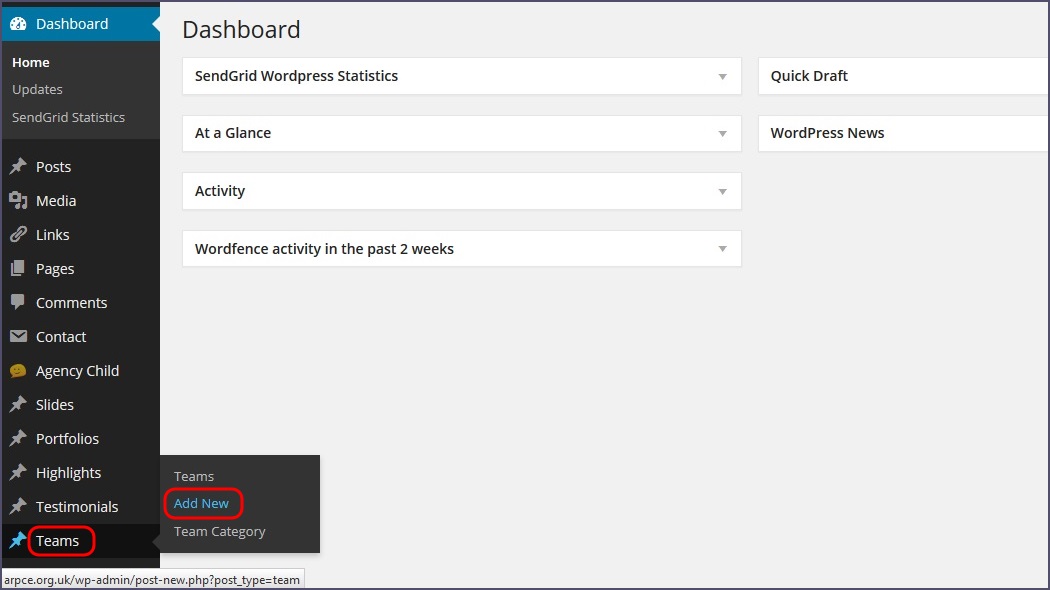
Enter the name of the individual you are adding in the title box and select the appropriate category for them from the right hand side
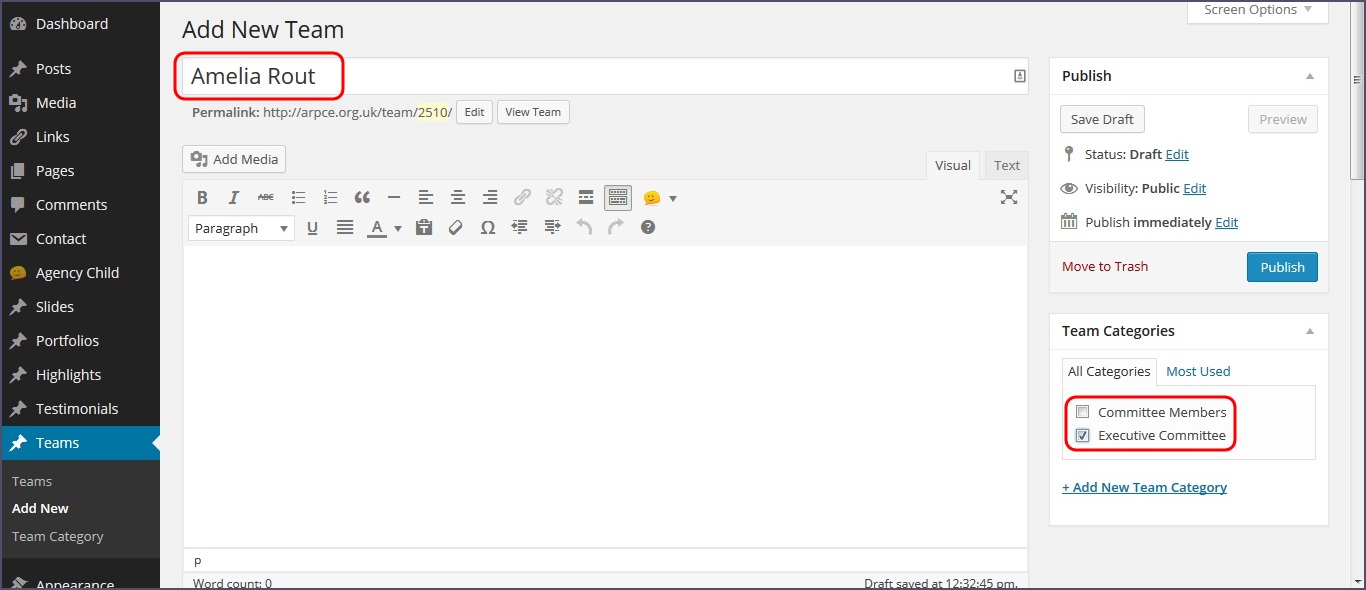
You won’t actually use the main text editor when creating a committee member record, but scroll down to the next menu - Themify Custom Panel.
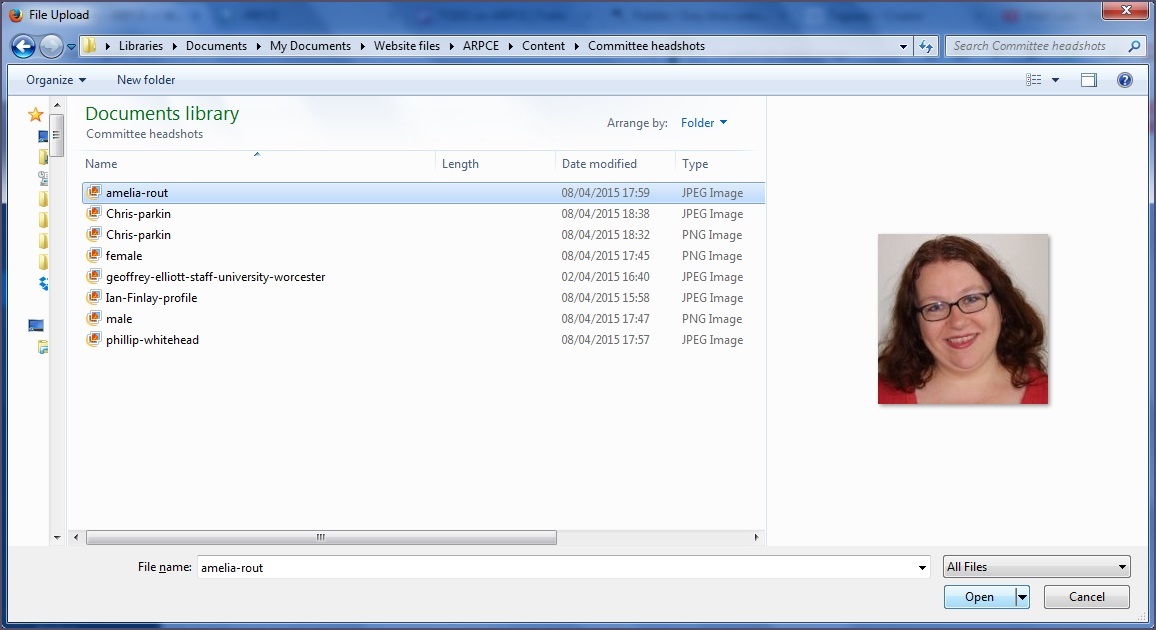
If the member you are adding is on the Executive Committee begin by hitting Upload to add an image for them. Note that general Committee Members do not currently have an image loaded with their record.
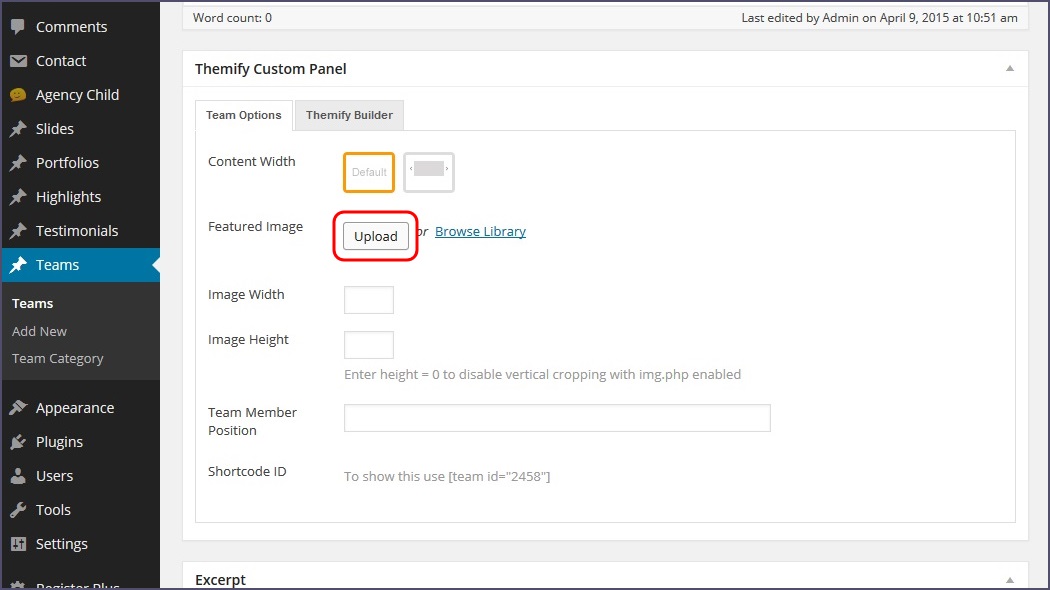
As normal, this will allow you to navigate to the appropriate image on your computer, select it and hit Open
You’ll be returned back to editing screen where you’ll see a thumbnail of your uploaded image. Now go ahead and enter a value for the Team Member Position
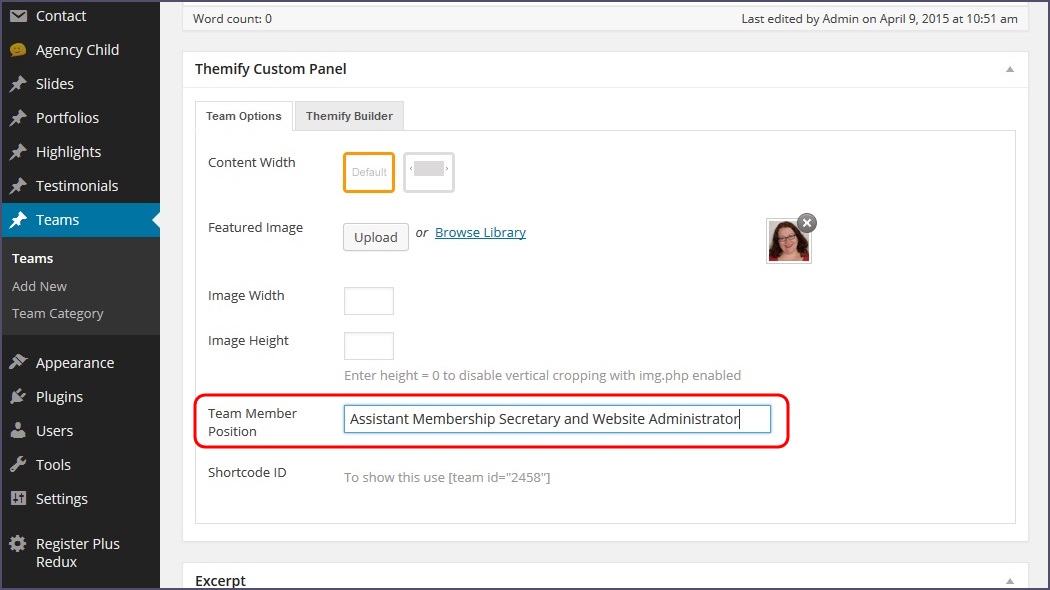
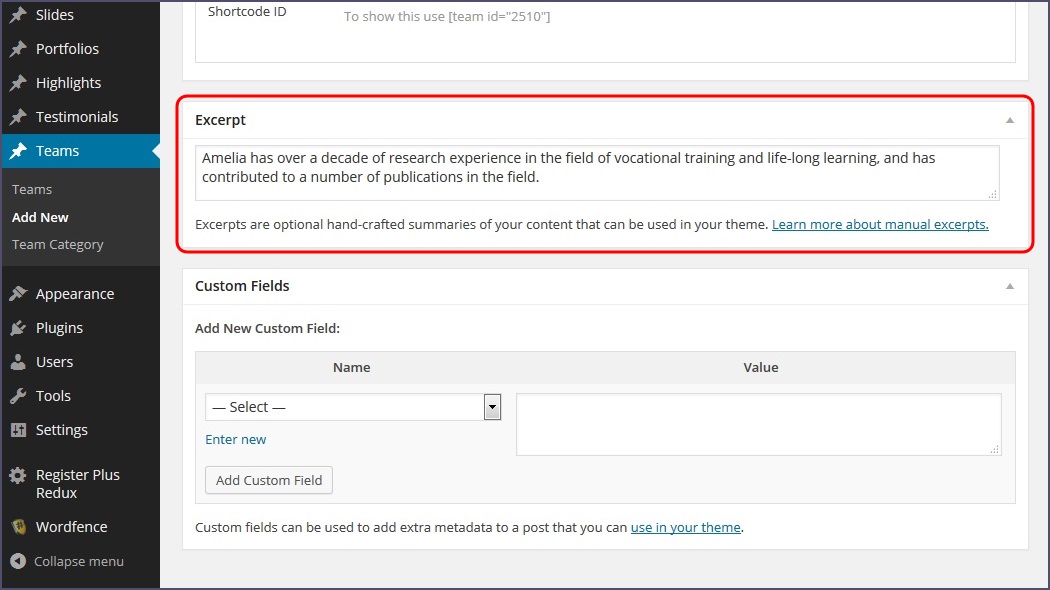
Next, add some text in the Excerpt field. This provides a description of the individual and their experience. This should be around 50-75 words
Adding an email address and a link
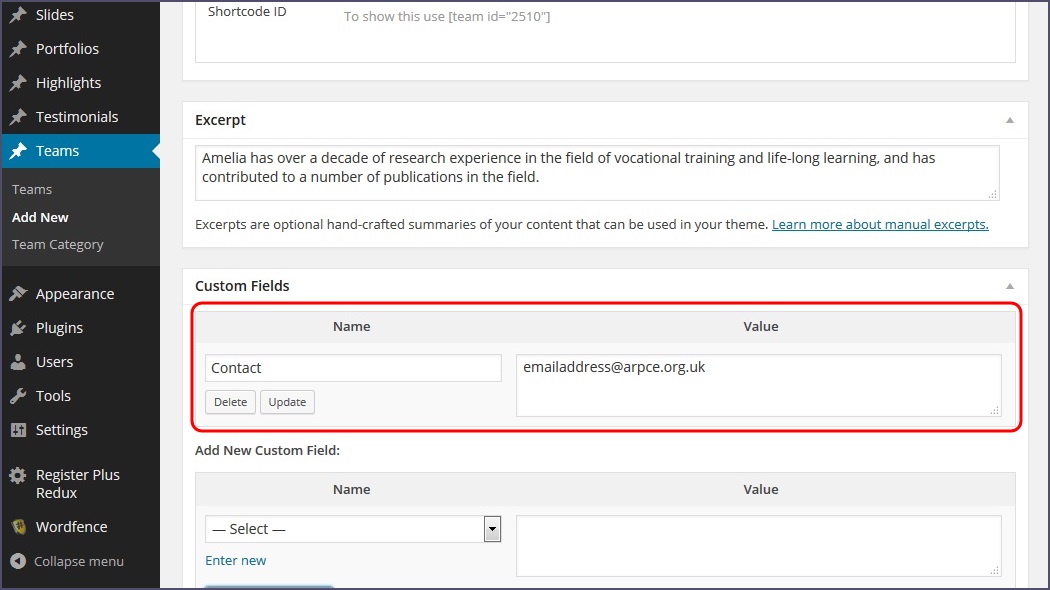
Beneath the Excerpt you’ll find the Custom Fields panel. This is used to add an email contact and an external link to a committee member record.
These are entirely optional, and not required to complete a record for a committee member
Begin by selecting Contact from the Name dropdown list
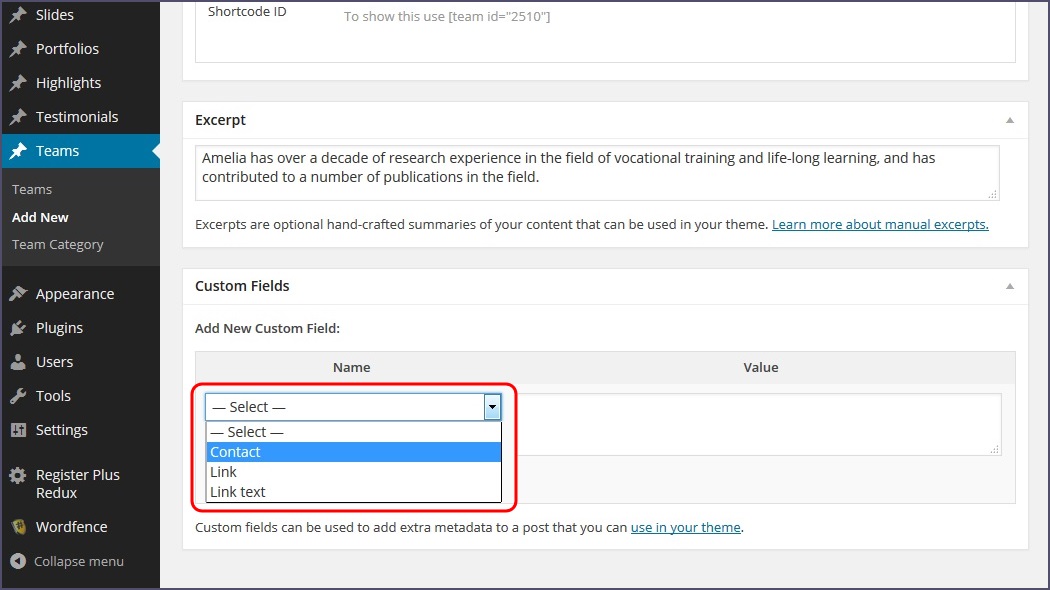
In the Value box enter the relevant email address and then hit Add Custom Field

The details entered will be saved (although you can Delete or Update them as needed) and you will see the dropdown box below to add a new field
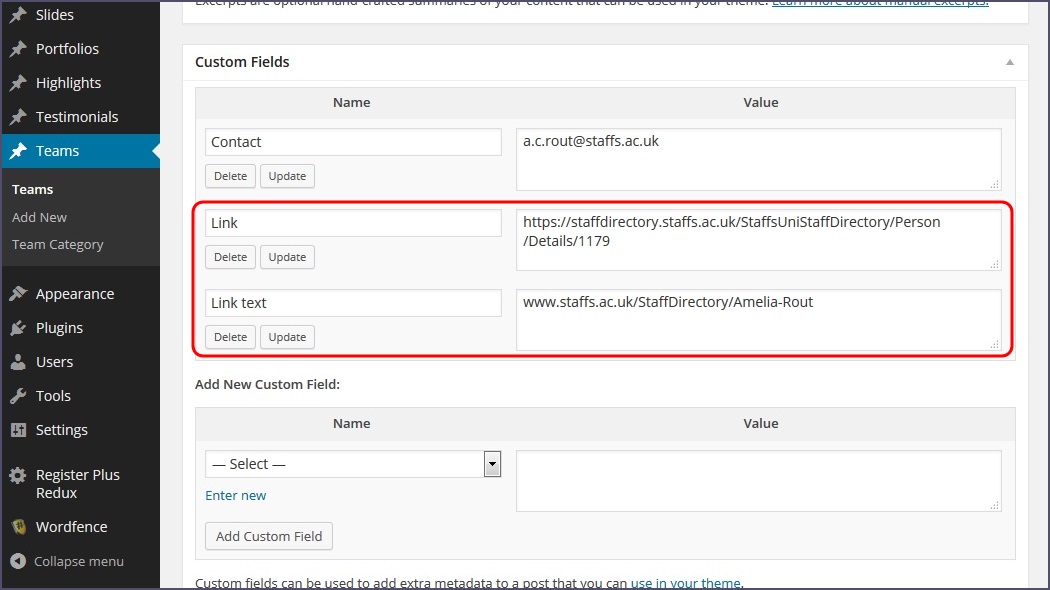
In the same way you can add an external link to be displayed with the committee member, but this is made up of two custom fields:
- Link - the actual URL of the page to link to
- Link text - the text to display as the link
This allows you to display a more readable link to visitors. For instance, in the example below the relevant page to display, as indicated by the Link field, is located at https://staffdirectory.staffs.ac.uk/StaffsUniStaffDirectory/Person/Details/1179
For visitors to your site, its not obvious what this link is or where it will take them. Using the Link text field allows us to display this as something more easily readable and understandable i.e. www.staffs.ac.uk/StaffDirectory/Amelia-Rout
Just remember that the Link is the literal URL of the page and the Link text is how it will appear to visitors
Once you are happy with all the details entered, scroll back up the page and hit Publish

On navigating to the Committee page you will see your new Committee Member record added to the site.

Ordering Committee Member records
Committee member records are displayed on the site in the order that they were created with the newest first.
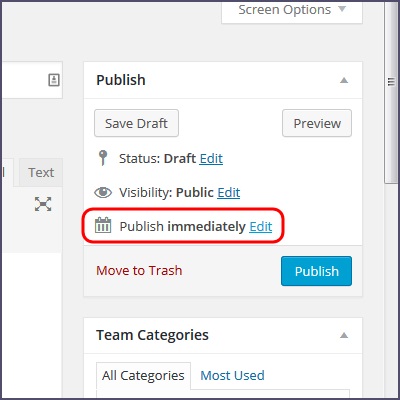
Therefore placing them in order requires editing the Published date or time of the record.
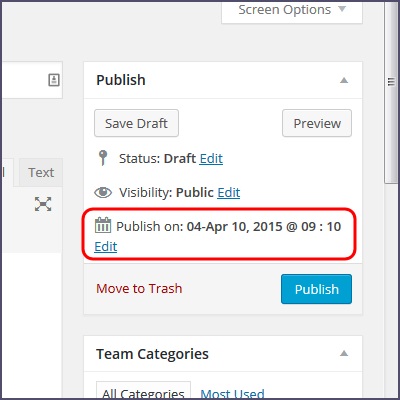
To do this, next to the Publish button you will see the where it says Publish: immediately. Click Edit.
Use the controls to edit the date and time of publication as necessary and then hit OK
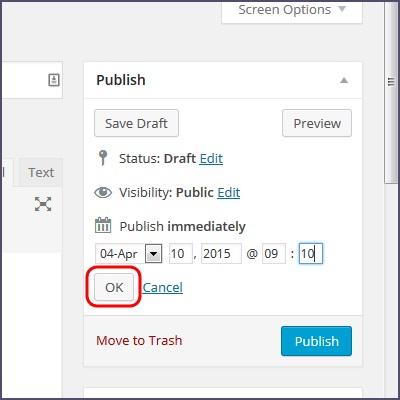
You will see that Publish: immediately is gone and in its place is the date and time you have just entered. When you hit Publish this will be used to order the committee record.
You can always come back and re-edit this later in the same way if needed.
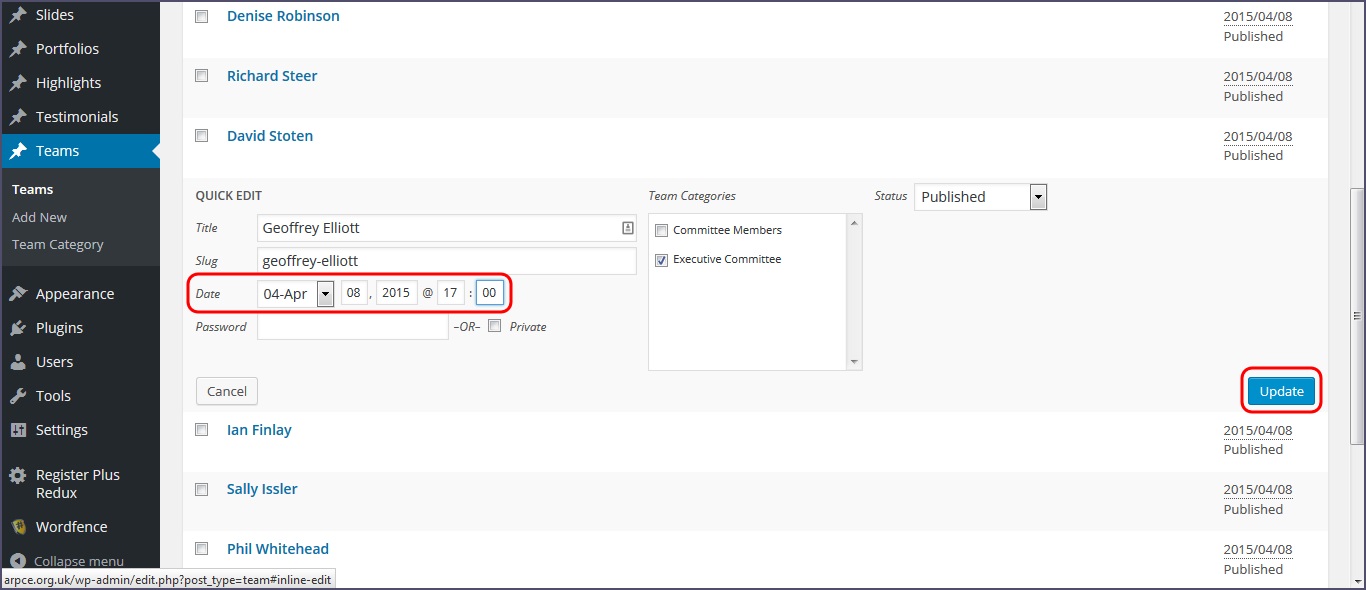
Alternatively you can quickly edit the publication time and date of muliple records from the main Teams page. This is easier if you have a number of records you are trying to re-order.
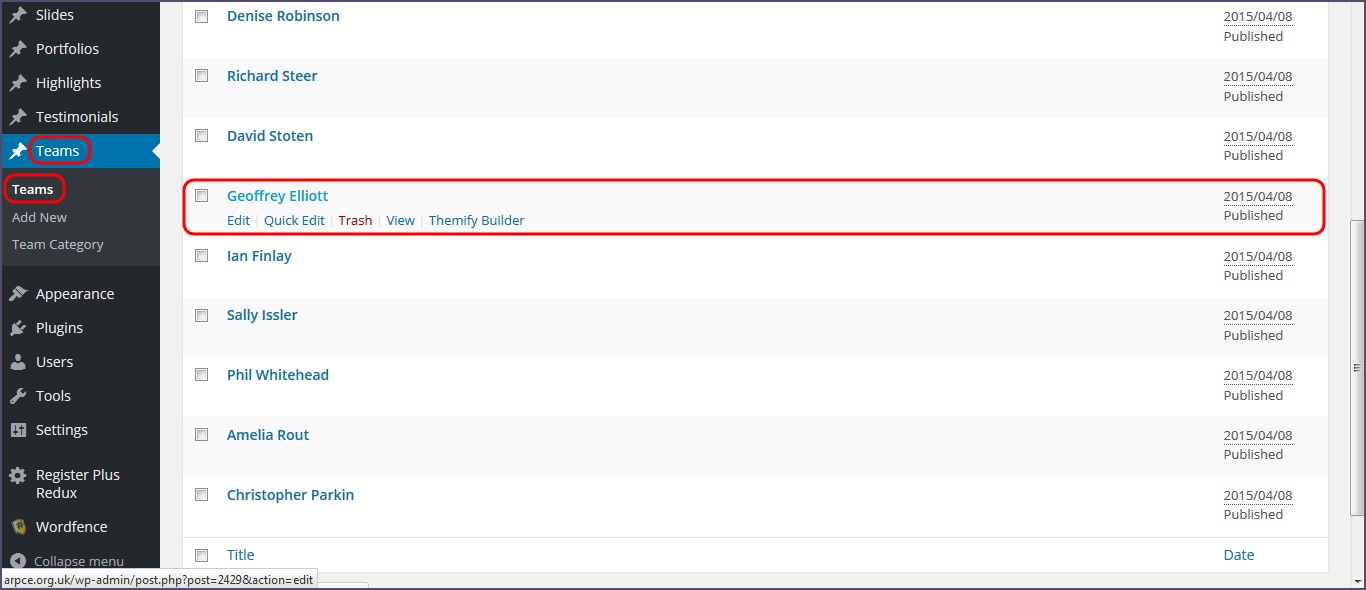
From the dashboard navigate to Teams > Teams and you will see a listing of all the current committee member records.
Hover over the name of the record you’d like to edit and hit Quick Edit
You will be presented the following options as below. Here you can quickly alter the date and time of publication as above.
Simply hit Update to save your changes.