Using images
Good use of images within your posts and pages makes your website more attractive and readable to visitors so understanding how to embed images in your content is important!
A note about image quality
To keep the site looking its best you need to give some consideration to the images you use to ensure that they are of the right quality for use in the site. We recommend the following rules of thumb
- Keep your image to a maximum of 800 pixels on any dimension (horizontal or vertical)
- Aim to keep image file size below 200kb
- Use JPG image files for photographs
- When adding images to a post, the ‘Medium’ image size that you can select in the Wordpress media library should be perfectly adequate in most circumstances and will work well with mobile browsing also
If you need to edit or alter images we recommend the free and open source image editing software paint.net (available from www.getpaint.net)
Uploading and inserting new image
Before you can embed an image you’ll need to upload it to your Media Library in Wordpress. The simplest way to do this is to place your cursor in your text where you’d like to place an image and hit the Add Media button.

This will open the following dialogue window where you can select an already uploaded image from the Media Library tab or choose to upload a new image. To upload an image his the Select Files button.
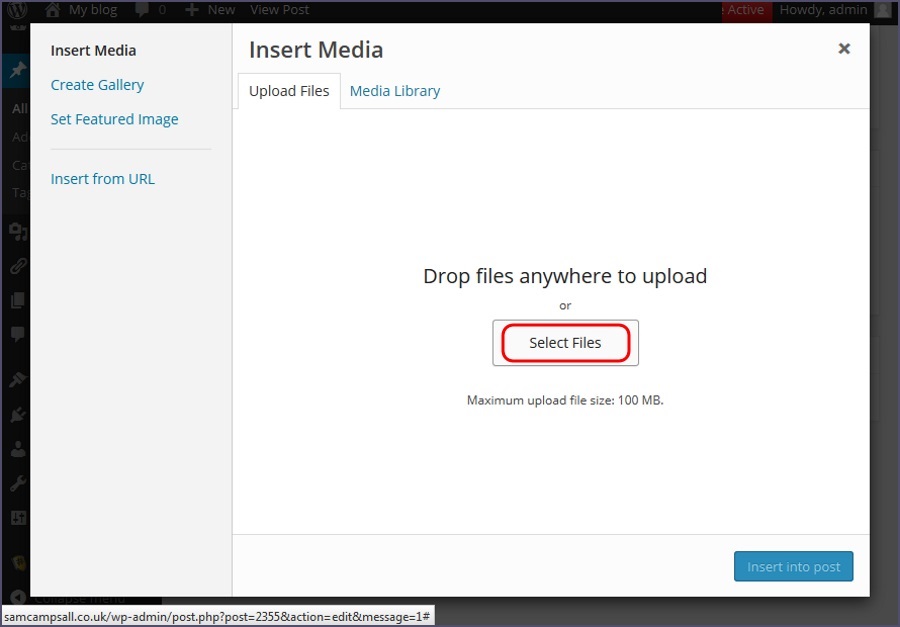
This will open the file browser on your computer allowing you to navigate to the image you wish to upload and use. Once selected hit Open.

Immediately you will be returned to your Media Library where you’ll see Wordpress uploading your image. Please note that you can upload multiple /images simultaneously in this way!

Once fully uploaded you should be presented with the following - your image is visible in the left hand pane with the other files in your Media Library and in the right hand pane you can see details and option for your new image.
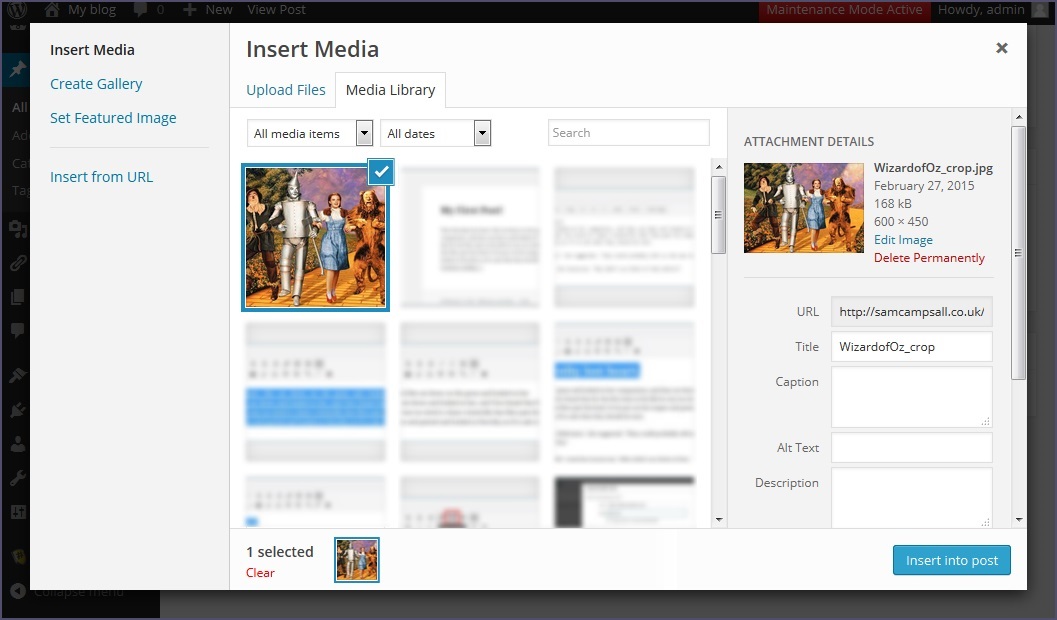
Alt Text
Firstly, you should add an Alt Text - this should be a simple and descriptive text for your image, as below.

Alignment
Scroll down to find the Alignment dropdown box. You can use this to set the alignment of your image before you add it to your Post or Page. See below for more details.

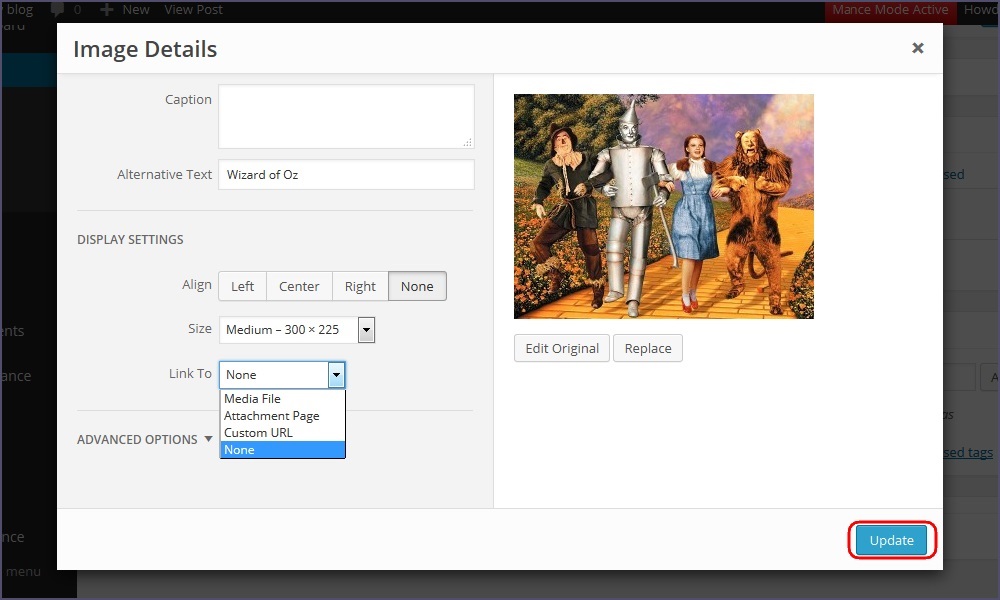
Link To
The Link To dropdown box allows you to create your image as a link with a number of default behaviours
- Media File - makes your image link to a completely blank page containing only your image
- Attachment Page - makes your image link to another page on your website containing only your image
- Custom URL - gives you the option to enter a URL for your image to link to
- None - your image will not create any link but simply be embedded as a static image into your Post or Page
In most instances you will want to select None as you are looking to simply add /images to your Post or Page, but beware that Wordpress will insert your image with the Link To: Media File as default.

Size
When you upload your image Wordpress actually creates a number of copies of it in various sizes. The Size dropdown then allows you to choose which size image you wish to use in your Post or Page
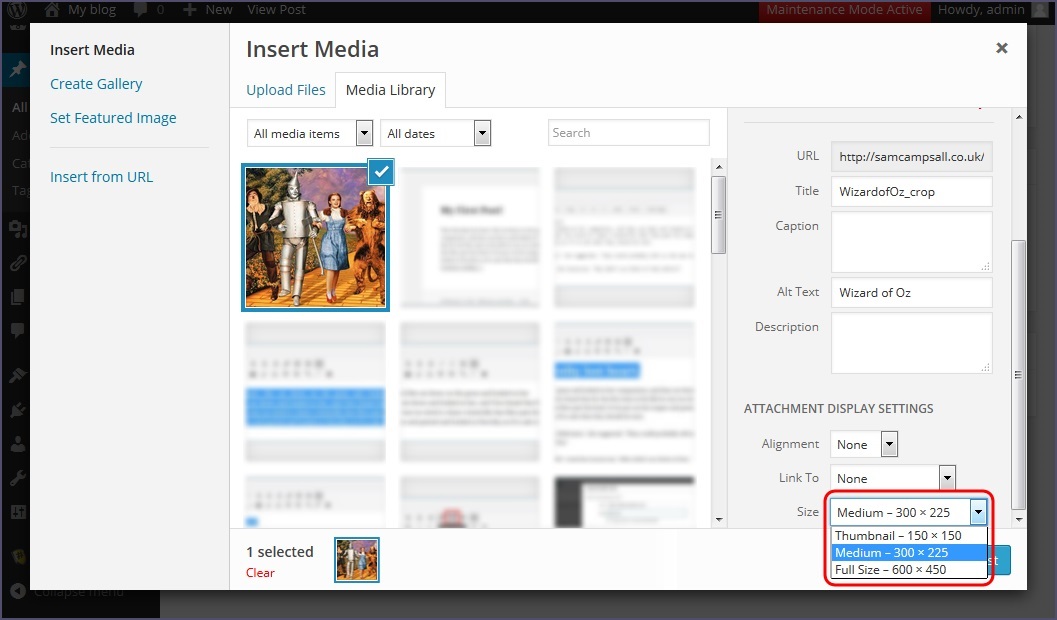
Once you’ve made your selections from the various options hit Insert into post.

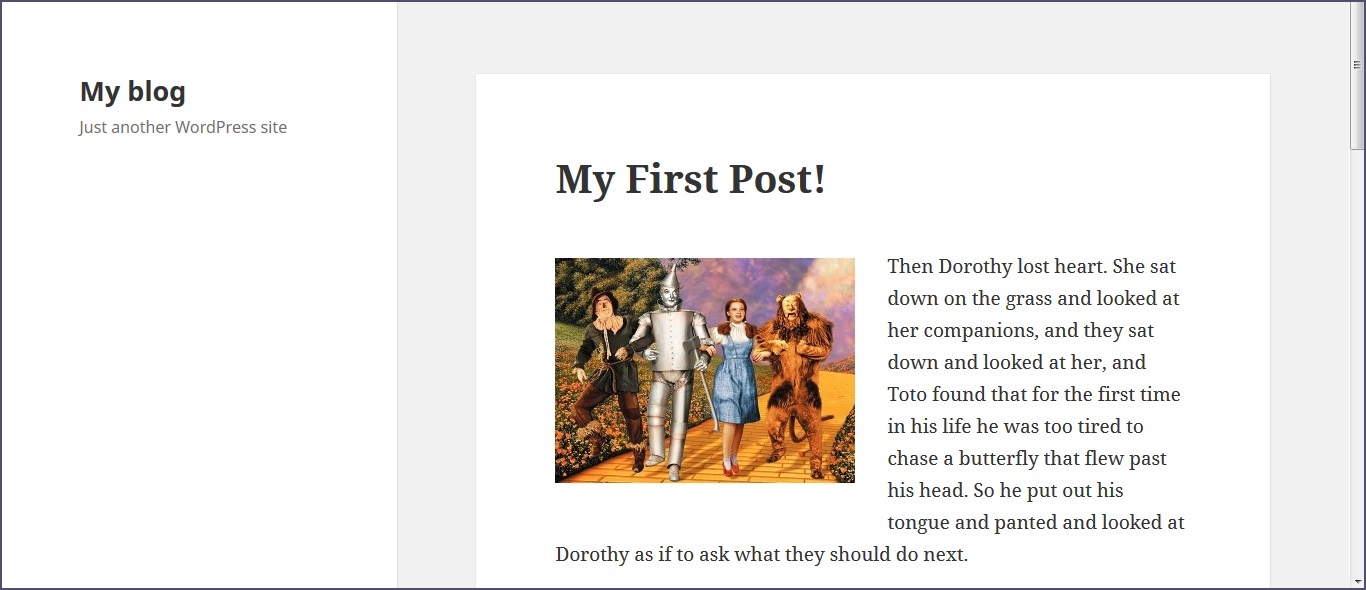
You’re image will appear in the Text Editor at the point you left your cursor
Aligning your image
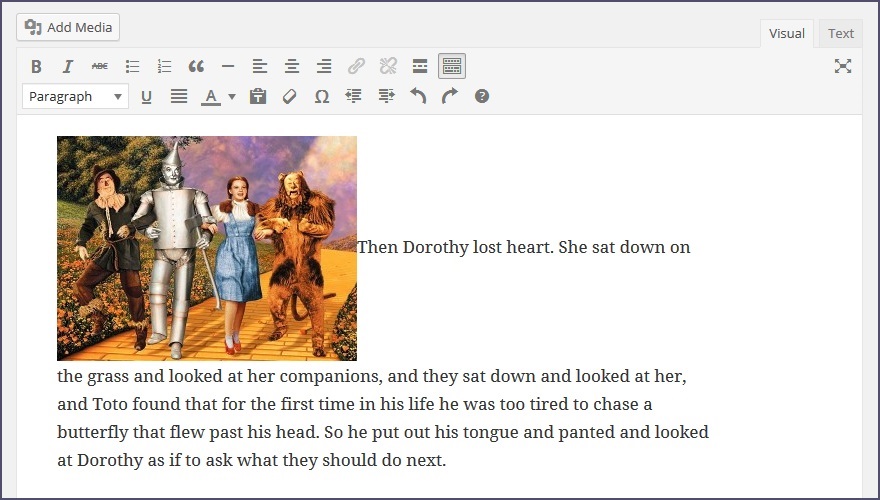
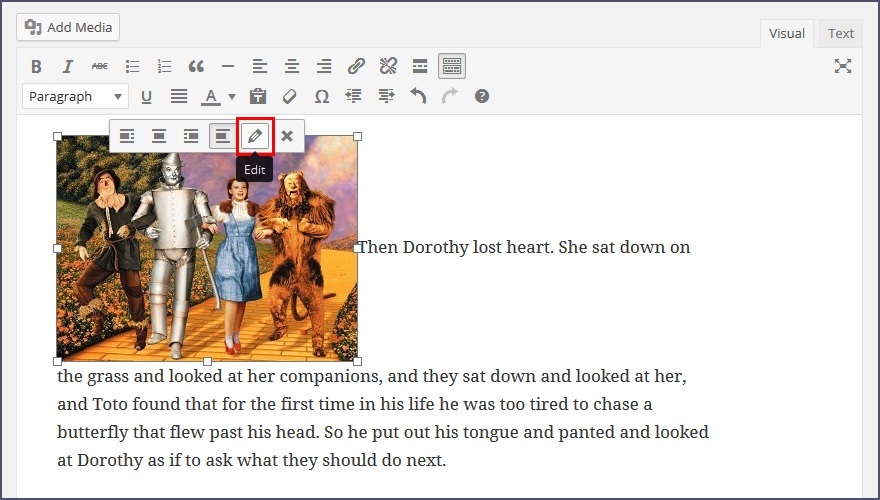
If you didn’t set a value for Alignment before inserting your image it may look a little out of place to begin with. To change this, simply click on the image in the Text Editor.
This will bring up the image toolbar pictured below and indicate that the image currently has No alignment applied
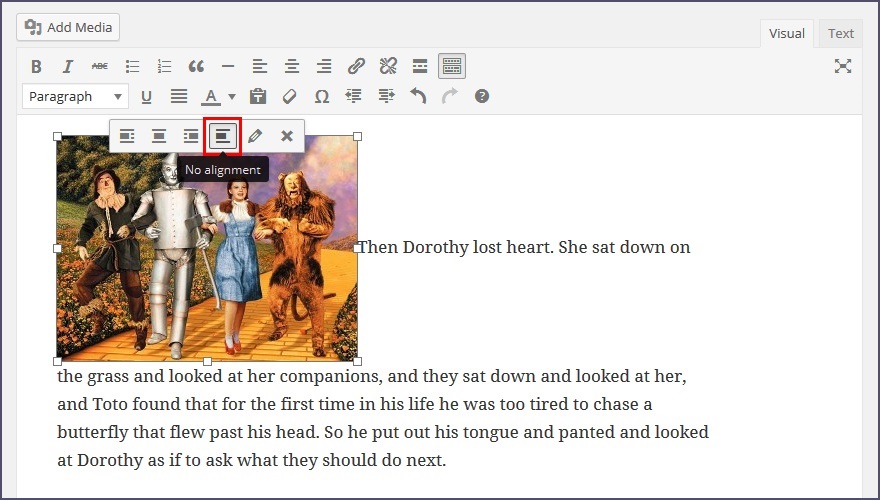
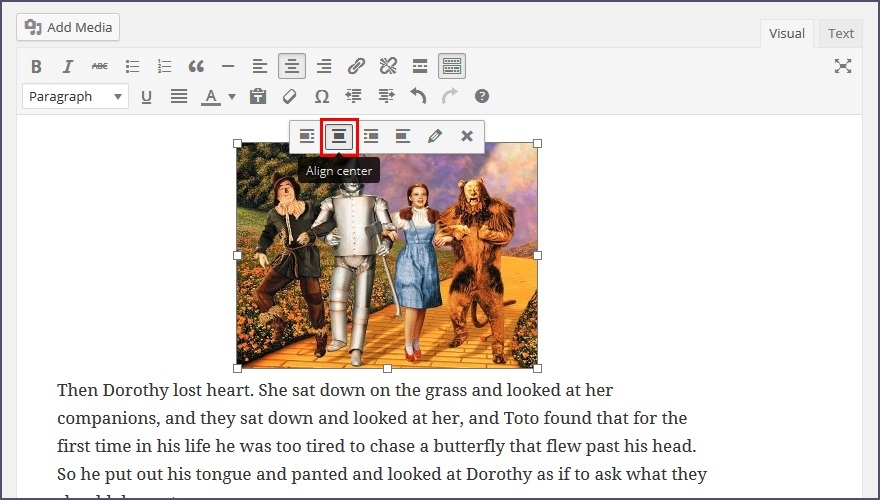
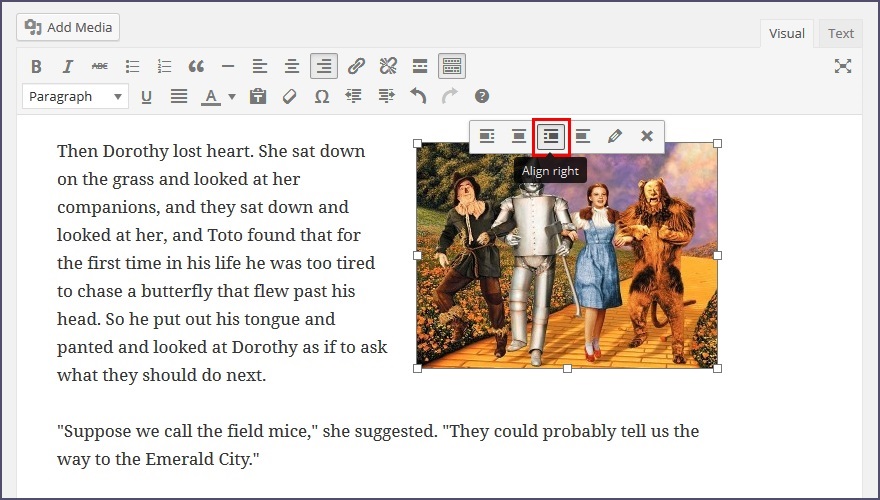
To alter the alignment simply use the controls in the toolbar as below
Align left

Align centre
Align right
Editing your image
Using the image toolbar you can also easily edit your image settings. Click on the Edit button shown below
You’ll be presented with the following dialogue box where you can edit the same options you chose when you uploaded the image originally. Change them as you wish and then hit Update to save your changes.
Removing an image
Using the image toolbar, simply hit the Remove button to delete your image

Saving your changes
Once you’re happy with your image in the Text Editor remember to hit the Update button for your Post or Page. You can then view your new image in your Post or Page.